design your own art project


I did not take all of these pictures. Some of them were selfies.
artist statement
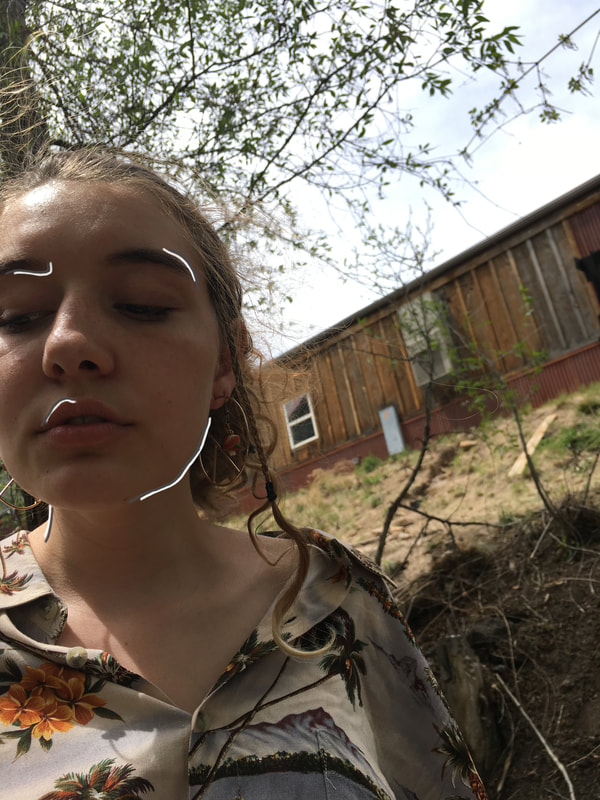
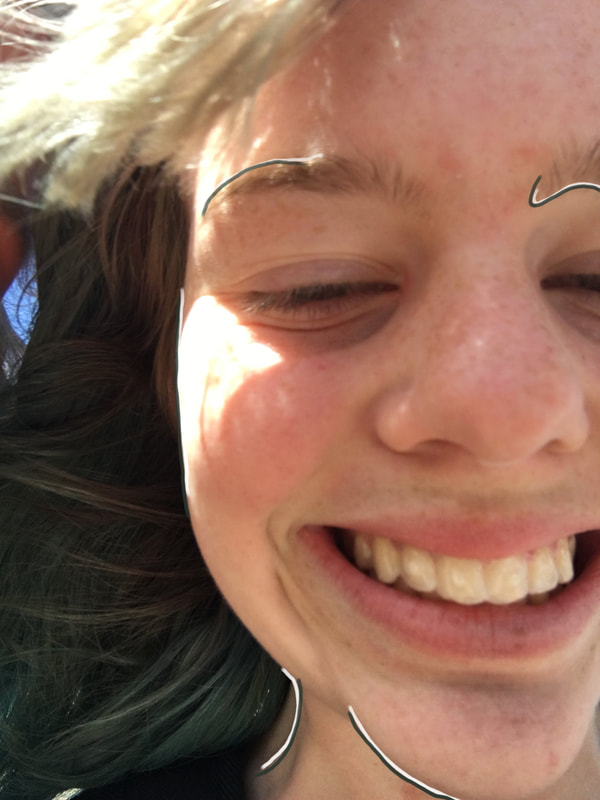
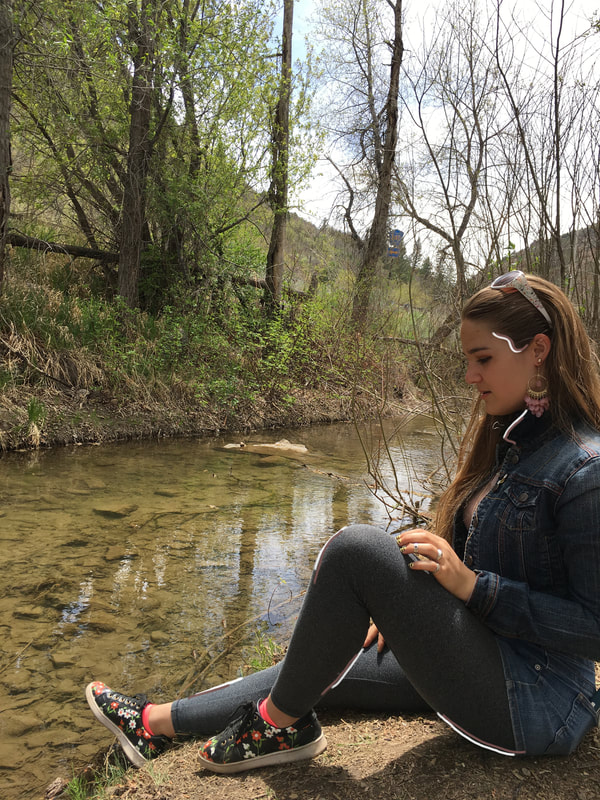
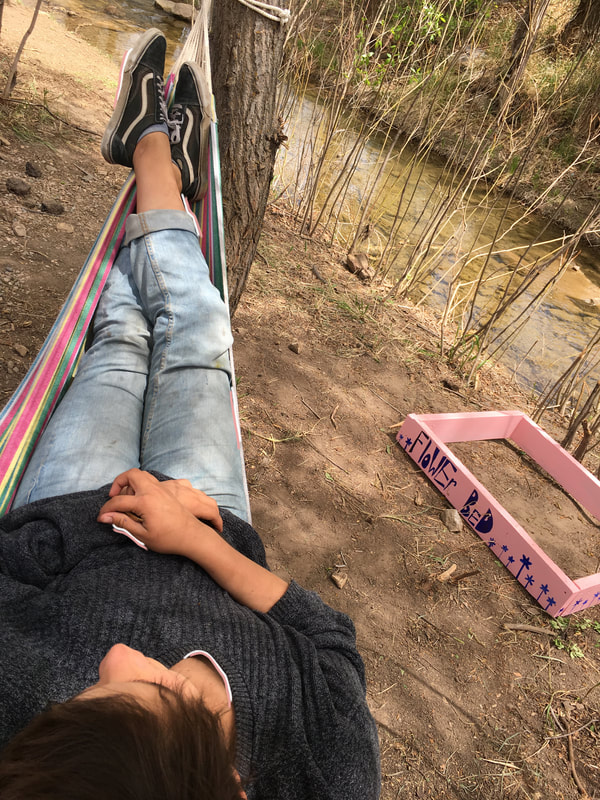
For this project, I decided to take pictures of my friends and trace the lines that caught my attention first. I chose to do this because I am really into photography, so I knew I wanted to incorporated it into my project. Our teacher told us they had to be digital in some way, so I decided to trace. I think that it is important to communicate visually because then people can see tings the way you are seeing them, and that will bring new perspective to the world.
Logo design project
Project description
At the beginning of this project we learned about contrast, and watched some videos that showed us how to use it well. Then we started sketching ideas out on paper and did this a couple of times, and eventually made our final logo. We then scanned them into computers and were able to put them on different products. Finally, we put them on here so that you could see our design processes, ideas, etc.
project reflection
I think that it is good to have an eye catching logo because those are the things people are going to be interested in learning about. For example, if I had a business I would want a logo that people would want to look at, or see first. The skill I used in Illustrator was the paintbrush tool to make it because didn't scan my final logo. I just drew it. Then in Photoshop I used the pen tool, the crop tool, and I rotated some of the pictures.
Truth of happiness project
This project was in humanities. We started it off my reading Brave New World and doing a ton of background research. In this research, we read articles and watched videos about things that can make people happy or unhappy. One major part of our research was learning about whether or not technology affected our happiness, and after reading many articles about how it has made more and more teenagers depressed, I believe it's true. After we did research and gained knowledge, we made videos about happiness and what it means to different people, and posted them on YouTube. One skill that I learned was how to use iMovie. I had used it in the past, but I didn't remember very much of it. I think it's good that I re-learned how to use it, because it will be helpful in the future if I ever make a video again. I also learned that it is very challenging to make a video when you do it with a group of people, because everyone envisions it being different. Although it was challenging, I think it was good for me to make it with a group because I learned how to better communicate with them to come to an agreement. And finally, I learned a huge lesson about time management which was "Plan ahead!" At the beginning of the project I didn't really think about planing out our time more than we had, because we had made a plan for when we were going to do everything. Turns out we definitely should have planed everything out more because we didn't include all of the points we were supposed to have in the video, and we were way behind our schedule. Even though this project was very stressful and time consuming, I thought it was very interesting to learn about everything we did, and it's good we learned about it because now I can improve my happiness by using the knowledge I have about it.
Utopia/dystopia visual aide
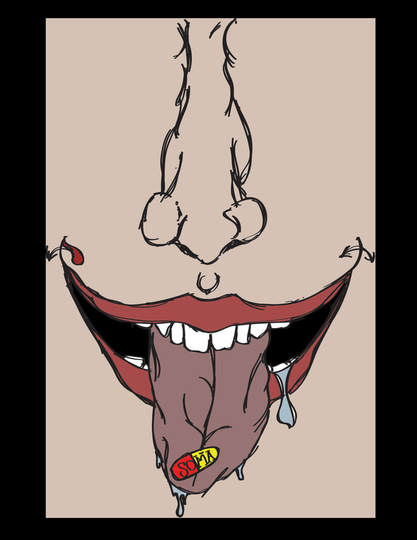
Above is my final product, done in Adobe Illustrator and Photoshop.
I think we did this project to bring out artistic sides of people and to think of ways to improve our society. For my project, I used Adobe Illustrator to trace this (because I drew it first), and then I used Photoshop to add color. In Humanities, we are doing a project about happiness. We read a book called Brave New World, and people in it took pill called "soma", so I incorporated it in my artwork, by putting it on the person's tongue. Since all of the happiness in the book was fake, I decided to make the smile be sown up to show that it's not genuine or real. My biggest take away's from this project are learning how to use Adobe Illustrator, which was really fun, realizing that I can make all of my art digital and really cool in a super fun way, because in the past it hasn't been good.
teacher creature
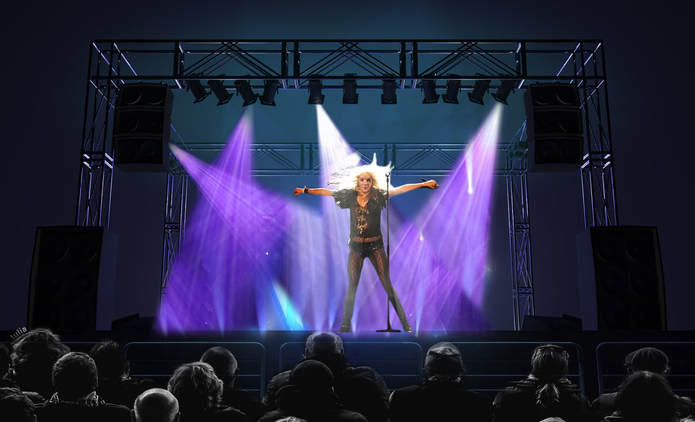
Final Photoshoped picture above.
I learned how to use Photoshop when I was in 6th grade, but I never really understood it. I think that throughout this project, the tools in Photoshop really started setting into my brain and I started to understand it more. I also think that this is a good project to have because it helped me remember things like how to use the pen tool, what foreground, middle ground, and background were, and how to blend things like kin tones together better.
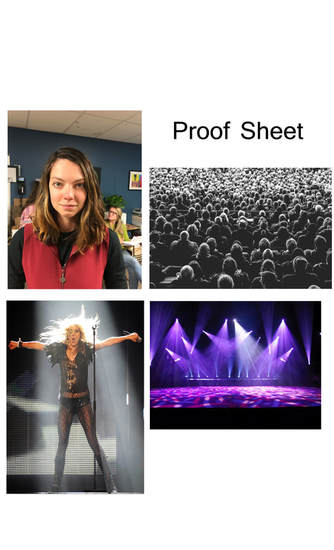
Final proof sheet of pictures I used.
Tutorial Project
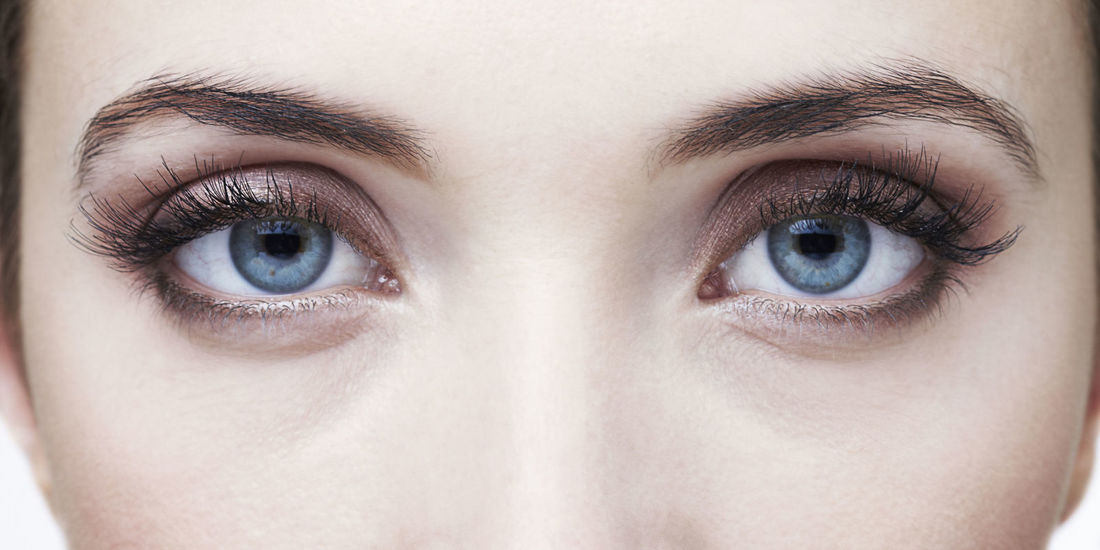
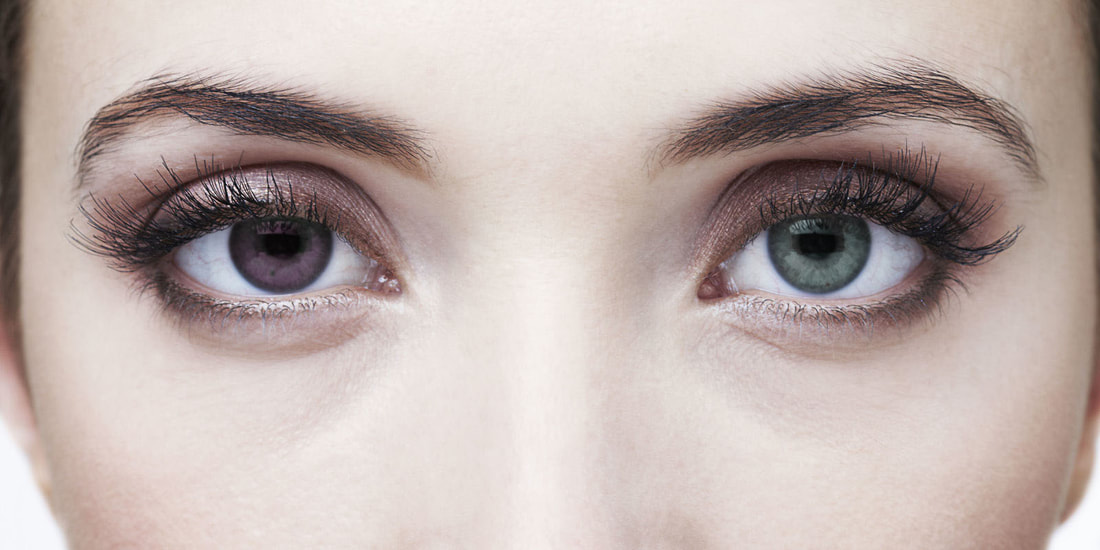
Original Photoshoped
For this edit, I opened the picture on he left in Photoshop and unlocked it. After that I used the pen tool to select the irises of the eyes, then right clicking and selecting the "mark selection" option. I then pressed control+u which allowed me to change the color of the irises by changing the hue, saturation, and lightness.
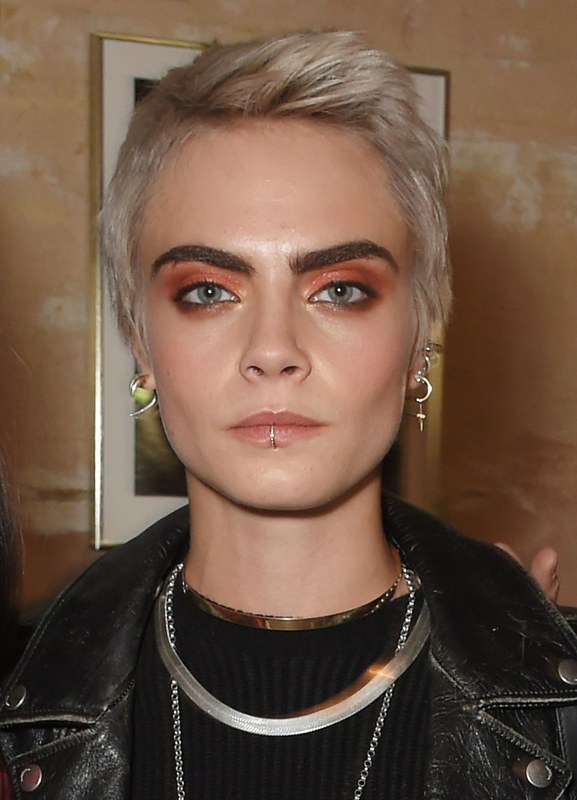
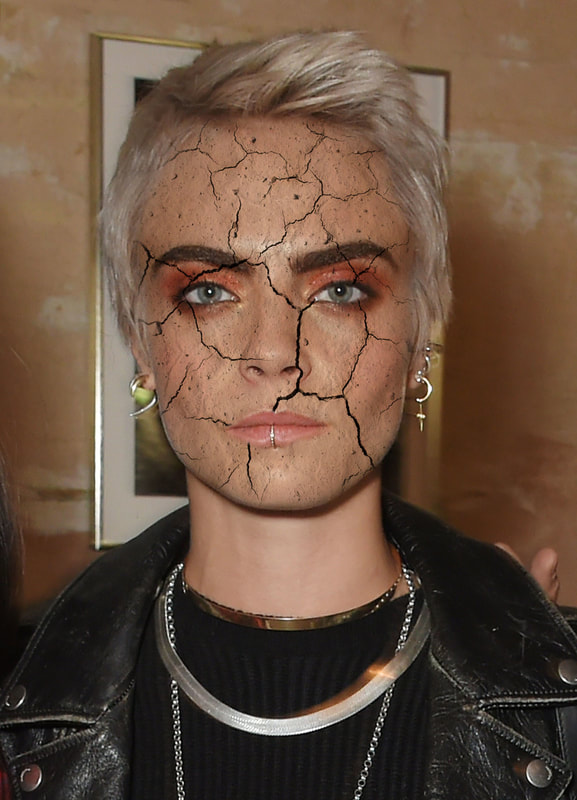
Original Photoshoped
This edit was a little different. I still opened the photo on the left in Photoshop, but this time I also opened a picture of dry, cracking ground. I selected the ground picture and placed it over Cara Delevingne' face. After that i went to some option and clicked on "multiply". I then selected the eraser tool to erase the cracks that weren't on her face. I also did this for the cracks that were on her eyes and lips to make it look more natural. Then I selected the "burn tool" and changed the color in the color options to black, and then went over the cracks just to make them darker and deeper. That was the final thing I did.

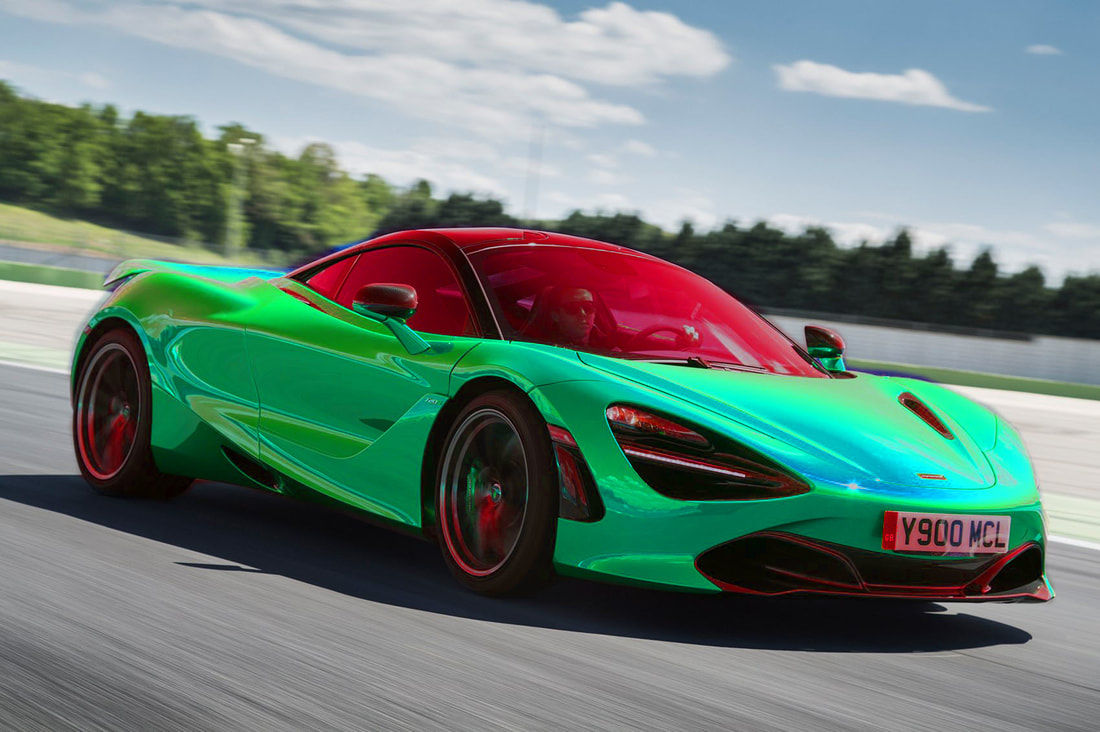
Original Photoshoped
I did the same thing for this as I did for the eye color tutorial. I opened the picture on the left, unlocked it, and the used the "pen tool" to make a selection around the entire car. I then right clicked on the selected part of the picture and clicked "mark selection". After that I pressed control+u on the keyboard, again allowing me to change the hue, saturation, and lightness.
Original Photoshoped
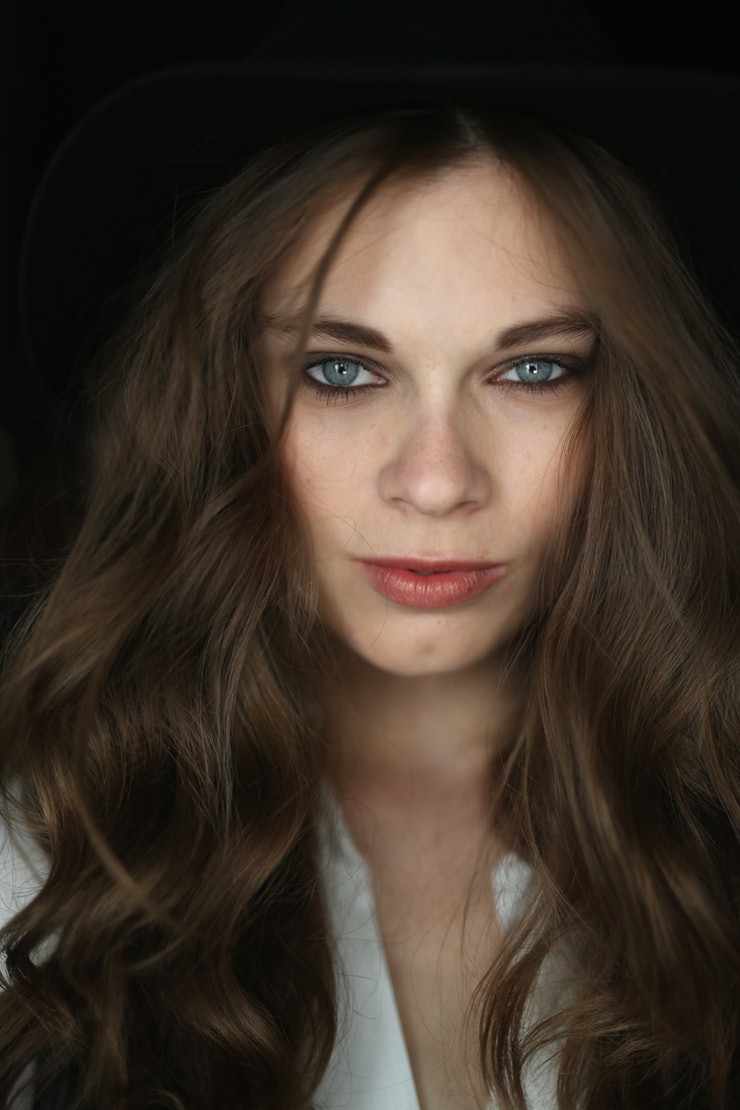
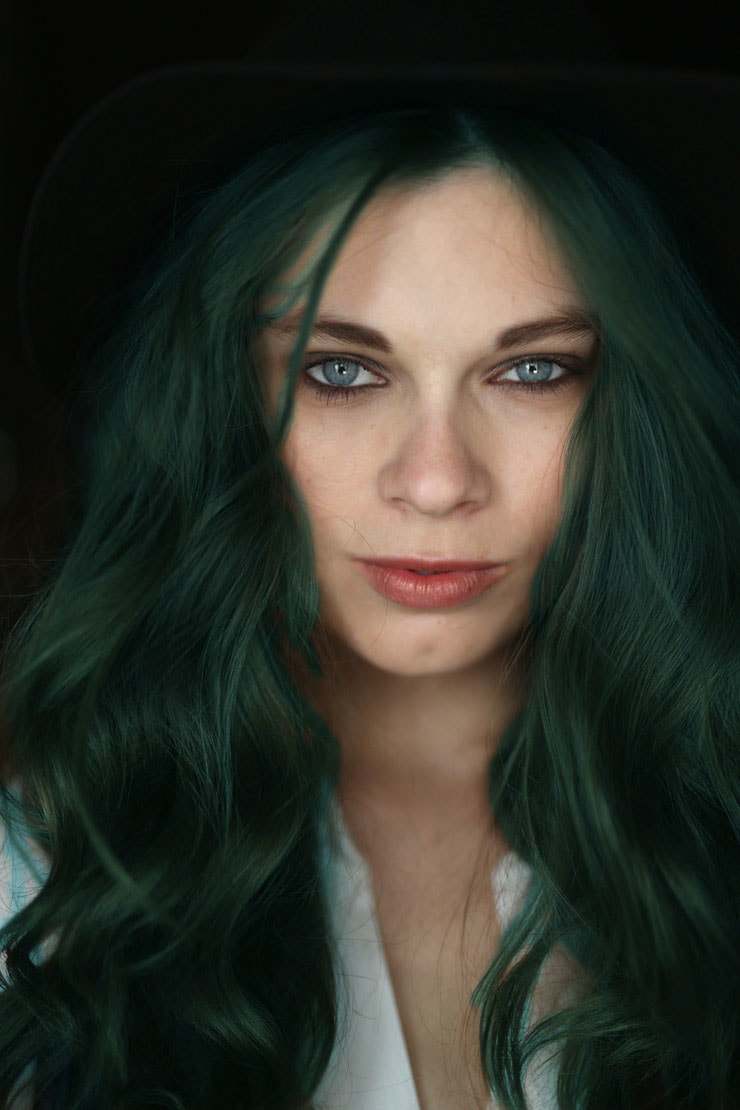
For my final one, I opened the picture on the left. Then I went to the bottom left of the screen and added a layer. Then I went to other options and changed "normal" to "soft light". After that I went to the "brush tool" and changed the color option to the green teal her hair is now. Finally, I brushed the color over her hair and this was my final product.
Letter portrait project
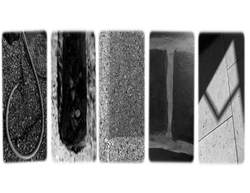
The Ted Talk helped me see the space around me differently. After that I saw letters in everything for bout a week. The steps we took to do this project were we watched a video on positive and negative space, then we went outside and took pictures of different things that looked like the letters of our names. Finally, we downloaded our pictures onto our computers and worked on the in Photoshop. I learned more about Photoshop and how to use it, and how to see different things in everyday objects. If I were to do this project again, I would change the angle that I took the pictures at. This is because I had to rotate some of them and it turned out kind of funny looking. For example, I had to rotate the "A", and now it looks backwards to me, or like it should be facing the other way. Overall, I really liked this project and I think it was really good to do because now I will know what to do if we ever do something like this again.
http://jetsetcom.net/useful-resources/photoshop-cc-resources.html
http://simplephotoshop.com/photoshop_tools/index.htm
http://simplephotoshop.com/photoshop_tools/index.htm
